前言
通常我们在创建项目的时候都会使用一些 cli 工具来创建,以省去重新配置新项目的时间。
大部分的 cli 工具都只是让你配置一个最基本的运行项目。
但实际上我们在开发过程中可以能会用到一些很常用的框架配套的库,这时我们就要重新在安装包,再重复写一些基础的配置和逻辑。
我们可以做了一个 cli 工具,这个 cli 工具可以拉取自己预先配置好的模板,在创建项目时调用自己的 cli 工具拉取这套模板,省去每次重复配置的时间。
分析功能
有了需求,接下来就分析这个需求究竟需要实现什么功能。
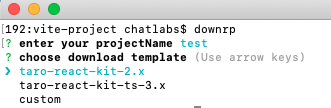
其实一个最核心的功能就是下载模板。参考一下 vite 在创建项目的时候流程:

可以看到,在输入命令后会让你填写一些项目的基本信息:项目名,项目框架还有代码种类。
对于我们将要实现的 cli 工具,模板代码框架和种类的合并,并自定义自己的配置。
所以,这个 cli 工具要实现的功能归纳为:
1.可以填写自己的项目名和选择自己的模板

2.根据填写的信息拉取和生成模板
开始实现
功能分析完了,现在开始实现!
需要用到的库
先介绍一下开发需要用到的库
安装好工具后,开始开发~
制作一个模板
即然需要拉取模板,首先就需要制作一个模板
测试模板,就在 vue3 的基础上加上vue-router和vuex吧。
1
2
3
4
5
6
7
8
9
10
11
12
13
14
15
16
17
18
19
20
21
22
23
24
25
26
27
|
import { createRouter, createWebHashHistory } from "vue-router";
import Index from "../components/HelloWorld.vue";
export default createRouter({
history: createWebHashHistory(),
routes: [
{
path: "/",
name: "Index",
component: Index,
},
],
});
import { createStore } from "vuex";
const store = createStore({
state: {},
mutations: {},
actions: {},
});
export default store;
|
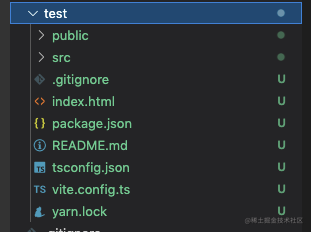
加载后目录如下:
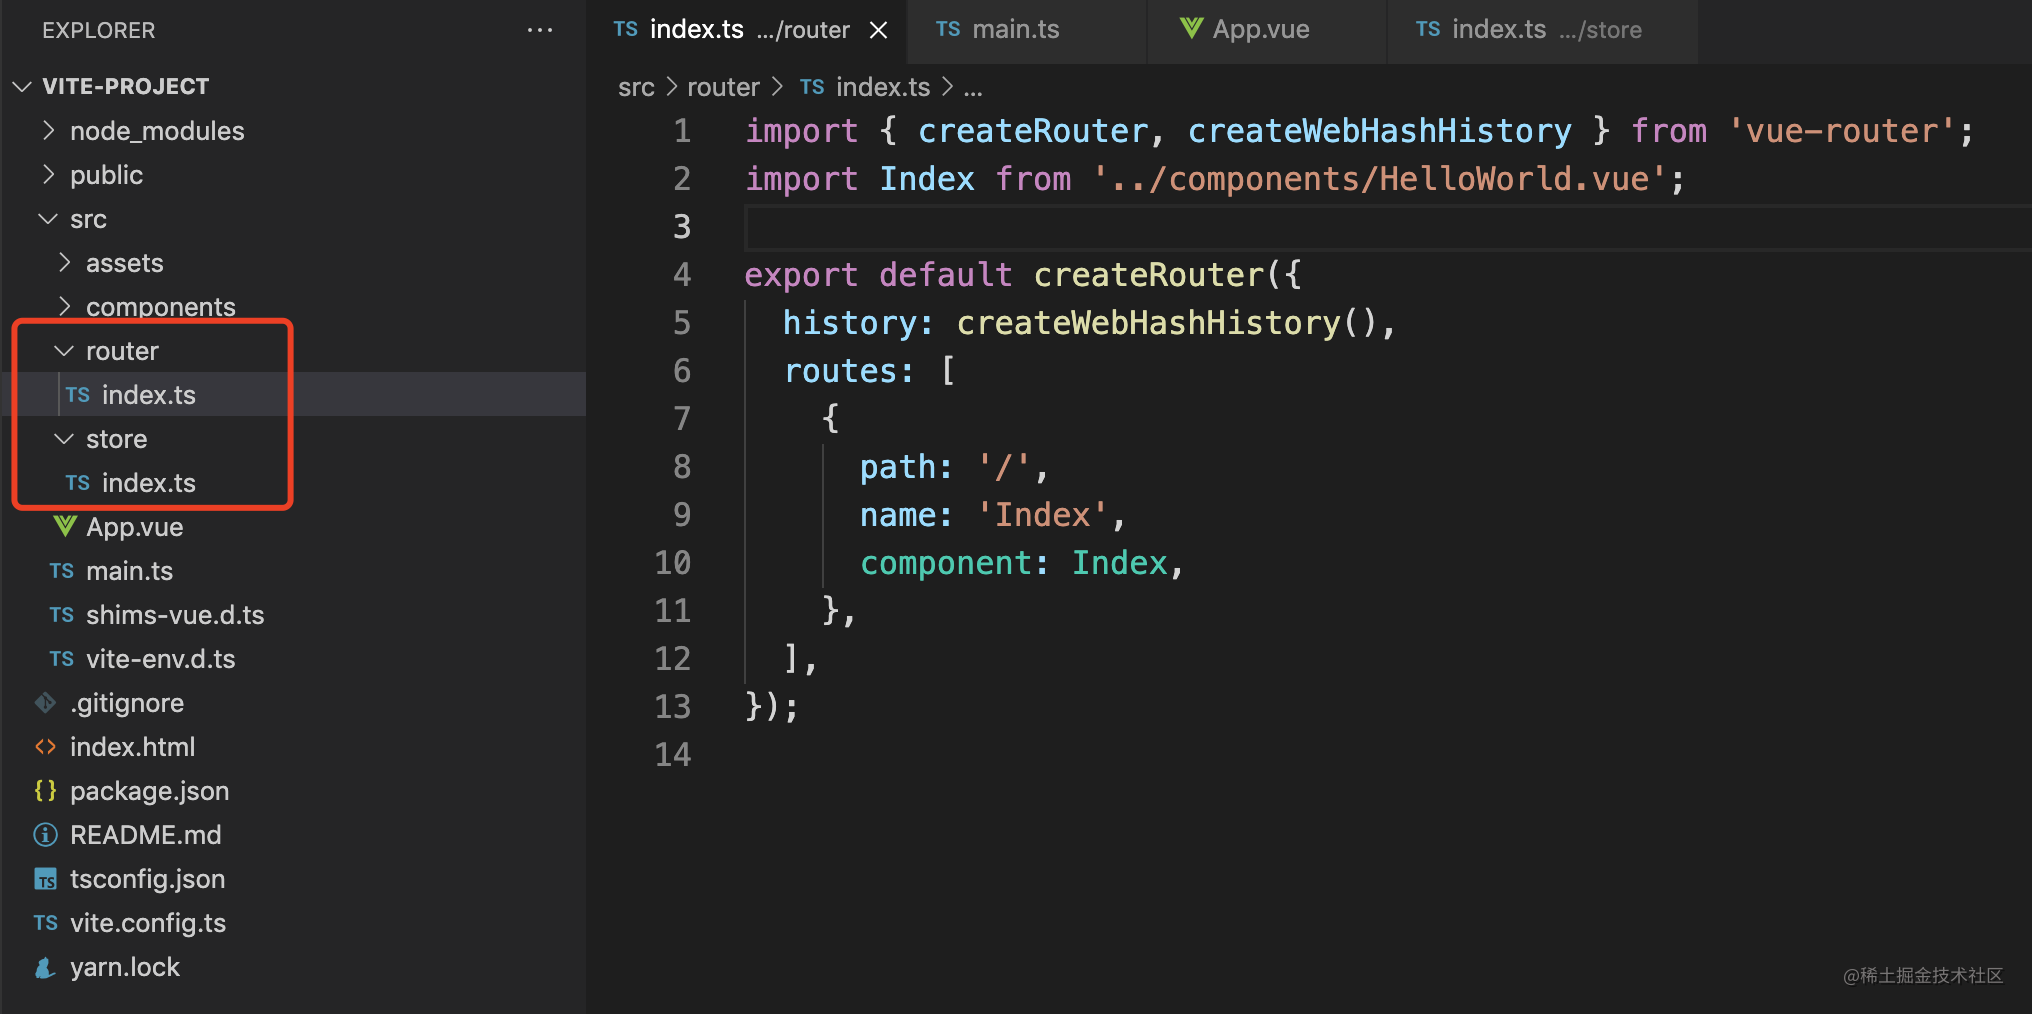
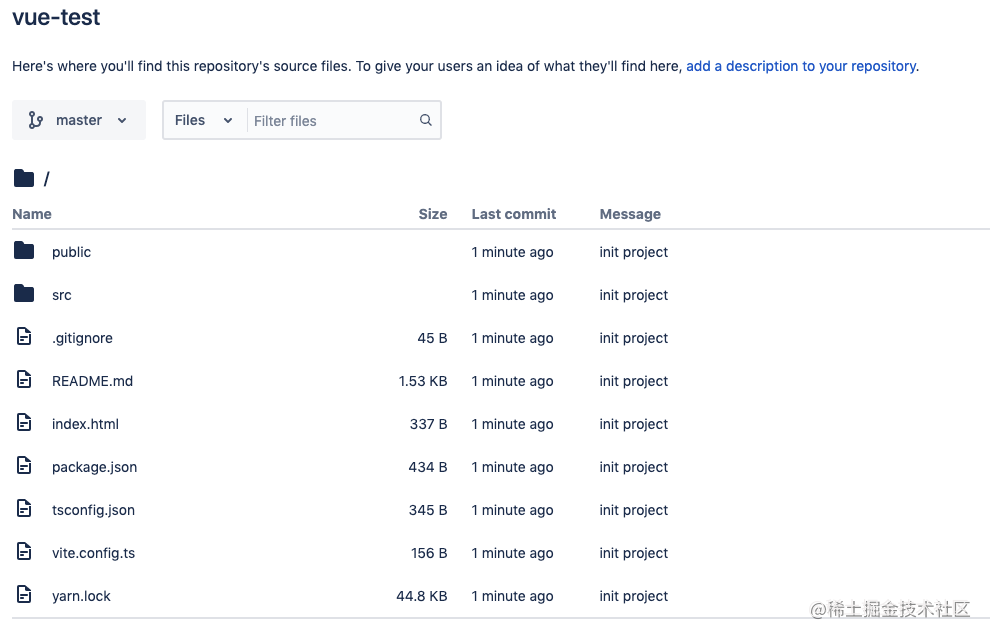
写完模板后把它放入远程代码仓库中
编写业务逻辑文件
模板有了,接下来开始开发 cli 工具。
首先需要实现一个交互式命令行,用来获取用户填写的信息。
1
2
3
4
5
6
7
8
9
10
11
12
13
14
15
16
17
18
19
20
21
22
23
24
25
26
27
28
29
30
31
32
33
34
35
|
import inquirer, { QuestionCollection } from "inquirer";
interface IPromptOption {
projectName: string;
templateName: string;
}
const PROMPT_LIST: QuestionCollection = [
{
type: "input",
message: "enter your projectName",
name: "projectName",
default: "test",
},
{
type: "list",
message: "choose download template",
name: "templateName",
choices: ["test-vue"],
},
];
function entry() {
inquirer.prompt<IPromptOption>(PROMPT_LIST).then(async (answer) => {
console.log(answer);
});
}
entry();
|
运行后可以看到,现在已经实现了交互式的命令后并且拿到数据了

1
| { projectName: 'test', templateName: 'test-vue' }
|
接下来就是编写一个拉取模板的方法,拉取模板使用的是download-git-repo。实现方法
1
2
3
4
5
6
7
8
9
10
11
12
13
14
15
16
17
18
19
20
21
22
23
24
25
26
27
28
29
30
31
32
33
34
35
36
37
38
39
40
41
42
43
44
45
46
47
48
49
50
51
52
53
|
import download from "download-git-repo";
import path from "path";
import ora from "ora";
const RepositoryList = {
"test-vue":
"direct:https://bitbucket.org/JeremyYu_1122/vue-test/get/master.zip",
};
interface IPromptOption {
projectName: string;
templateName: string;
}
function downloadTemplate(options: IPromptOption): Promise<boolean> {
return new Promise((resolve) => {
const CURRENT_PATH = process.cwd();
const { projectName, templateName } = options;
const targetPath = path.resolve(CURRENT_PATH, projectName);
const rpUrl = (<Record<string, any>>RepositoryList)[templateName];
download(rpUrl, targetPath, {}, (err) => {
if (err) {
console.log(err);
resolve(false);
}
resolve(true);
});
});
}
async function handleDownload(options: IPromptOption) {
const newOra = ora("start download template").start();
try {
let downloadResult = await downloadTemplate(options);
downloadResult
? newOra.succeed("download template success")
: newOra.fail("download fail");
} catch (err) {
console.log(err);
newOra.fail("download fail");
}
}
export { handleDownload };
|
将方法放到用户填写完信息后调用
1
2
3
4
5
6
7
8
9
10
|
import { handleDownload } from "./download";
function entry() {
inquirer.prompt<IPromptOption>(PROMPT_LIST).then(async (answer) => {
handleDownload(answer);
});
}
entry();
|
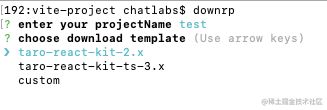
测试一下
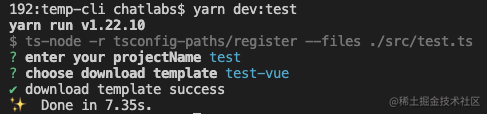
成功了!到现在,一个简单的拉取模板的 cli 工具核心代码已经基本完成。接下来就是打包发布
打包发布
首先修改一下package.json的配置。
1
2
3
4
|
"bin": {
"downrp": "./dist/index.js",
}
|
然后就是配置打包发布,打包发布我使用的是rollup,当然也可以使用其他工具。
注意: 打包后需要注入#!/usr/bin/env node,告诉系统需要用 node 运行~
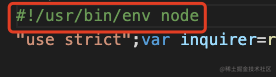
以 rollup 为例,注入的配置如下
1
2
3
4
5
6
7
8
9
10
11
12
13
14
15
16
17
18
19
20
21
| const path = require("path");
const rollupTypescript = require("@rollup/plugin-typescript");
const { uglify } = require("rollup-plugin-uglify");
const config = {
input: path.resolve(__dirname, "src", "index.ts"),
output: {
file: path.resolve(__dirname, "dist", "index.js"),
format: "cjs",
banner: "#!/usr/bin/env node",
},
plugins: [
rollupTypescript({
tsconfig: path.resolve(__dirname, "./tsconfig_prod.json"),
}),
uglify(),
],
external: ["download-git-repo", "fs", "path", "ora", "inquirer", "commander"],
};
module.export = config;
|
最后发布,npm publish,具体的发布流程可以看这里。
发布成功后我们就可以安装自己的 cli 工具啦
以我的发布 cli 工具为例
- 安装
yarn global install downrp-cli
- 使用
downrp
成功!到这里,我们的 cli 工具已经成功开发完了
(附)不使用库下载 git 模板
上面我们使用download-git-repo来下载模板呢,如果我们不实用库应该如何下载呢?
答案是利用请求,请求仓库的下载地址,将压缩包以二进制的方式保存下来,然后解压并输出文件。具体代码:
1
2
3
4
5
6
7
8
9
10
11
12
13
14
15
16
17
18
19
20
21
22
23
24
25
26
27
28
29
30
31
32
33
34
35
36
37
38
39
40
41
42
43
44
45
46
47
48
49
50
51
52
53
54
55
56
57
58
59
60
61
62
|
import superagent from "superagent";
import path from "path";
import zip from "adm-zip";
import { mkdirSync, writeFileSync, existsSync } from "fs";
export async function privateClone(
outputPath: string,
user: string,
pass: string,
url: string,
isHttps: boolean = true
) {
const uri = `${isHttps ? "https://" : "http://"}${user}:${pass}@${url.replace(
/^https?:\/\//,
""
)}`;
try {
const data = await superagent.get(uri);
if (!data.body || !Buffer.isBuffer(data.body))
throw new Error("request data is not a buffer");
if (!existsSync(outputPath)) mkdirSync(outputPath);
unzipFile(outputPath, data.body);
return true;
} catch (err) {
console.error(err);
return false;
}
}
function unzipFile(outputPath: string, data: Buffer) {
const unZip = new zip(data);
const fileList = unZip.getEntries();
let rootDir = "";
fileList.forEach((val, index) => {
if (val.isDirectory) {
if (index === 0) {
rootDir = val.entryName;
} else {
const createPath = path.resolve(
outputPath,
val.entryName.replace(rootDir, "")
);
!existsSync(createPath) && mkdirSync(createPath);
}
} else {
const writePath = path.resolve(
outputPath,
val.entryName.replace(rootDir, "")
);
!existsSync(writePath) &&
writeFileSync(writePath, val.getData(), { encoding: "utf-8" });
}
});
}
|
小结
本文主要介绍了 cli 工具的需求分析和开发流程
下面是我自己做的一个 cli 工具。
源码地址